What is Razer Synapse & How to Properly Use it?
Razer Synapse gives you granular control over your Razer device
5 min. read
Updated on
Read the affiliate disclosure page to find out how can you help Windows Report effortlessly and without spending any money. Read more
Key notes
- Razer Synapse lets you configure and tweak the granular controls of your Razer devices.
- You can tweak the lighting effects, scroll settings, keyboard binding, etc., settings with the Synapse program.
If you have bought a Razer laptop, you will see a Razer Synapse tool pre-installed on your computer. However, the Razer Synapse tool is also recommended to install when you purchase a Razer mouse or keyboard.
In this guide, we will share with you the details of the Razer Synapse program and how you can properly use it to enhance your productivity. Let us get right into it.
What is Razer Synapse?
Razer Synapse is a tool developed by Razer that will help you design and customize the functions of Razer devices, be it a laptop, keyboard, or mouse.
One of the main tasks of using a Razer Synapse tool is that it keeps your drivers related to Razer up to date. It installs the new driver automatically to keep the devices functioning at their best.
You can also sync or change the Razer RGB lightning based on your room’s theme or the mood of the movie or game you are playing. The scenarios are endless.
Which is the current version of Razer Synapse?
Notably, the latest version of Razer Synapse that you can download on your computer is the third version.
It will come preinstalled on many Razer computers, but for other devices, you need to download it separately. The first version of Razer Synapse was introduced back in 2011.
How to download and install Razer Synapse?
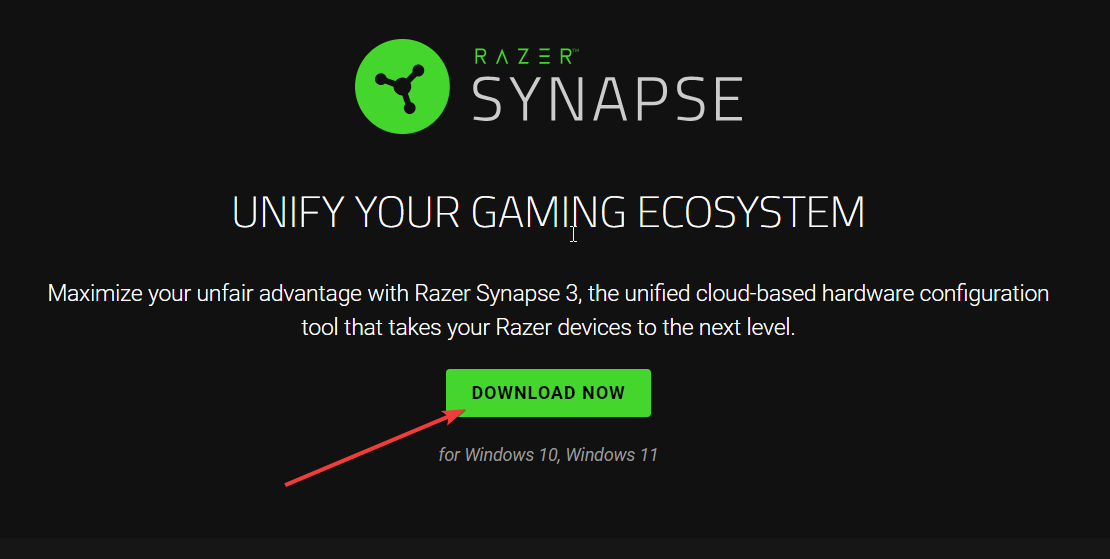
- Visit this official website and download Razer Synapse on your PC.
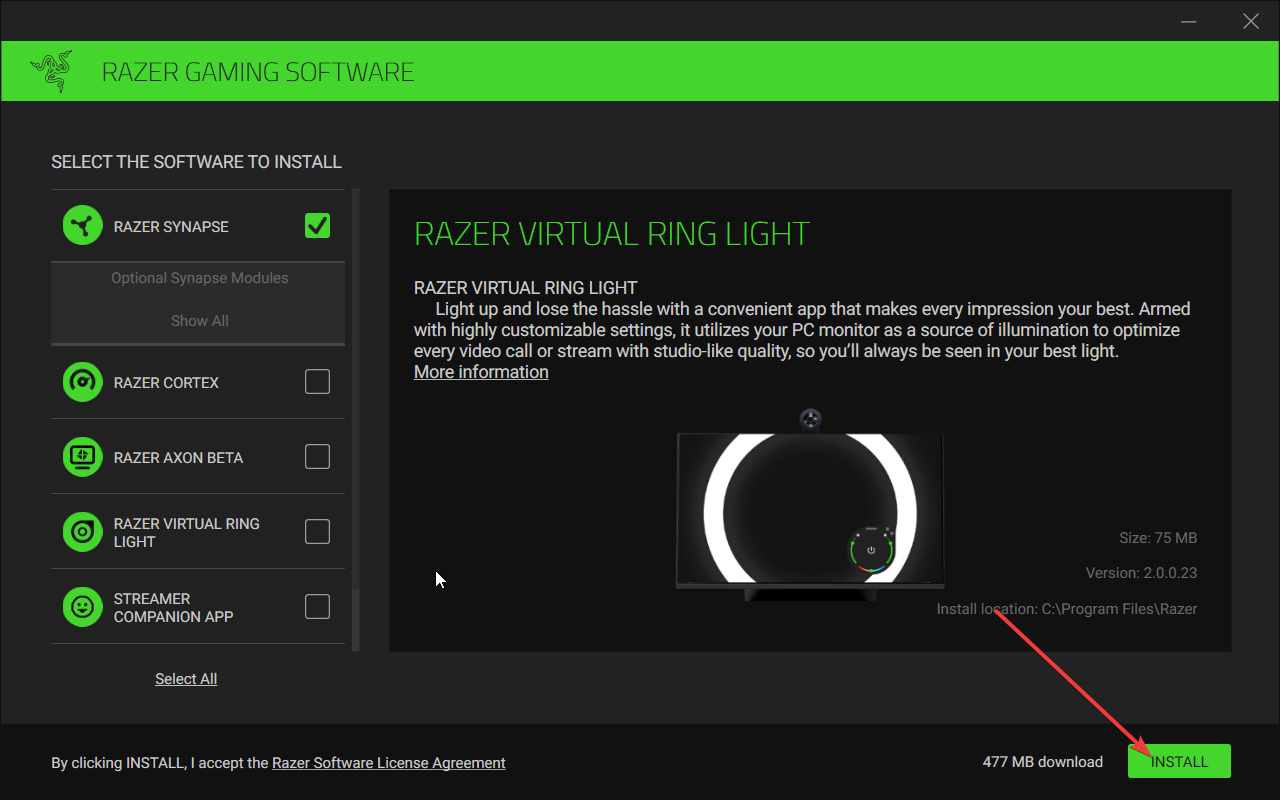
- Open the EXE file to begin the installation.
- Tick the boxes for the content that you would like to install and hit the Install button. Do note that as you select the content, beside the Install button you will see the download size required.
- Follow the on-screen steps to complete the installation.
- After the installation is complete, restart your computer to apply the changes.
- When your PC boots up, open the Start menu by pressing the Win key. Else, you can launch the Razer Synapse program using its desktop icon.
- If you are using it for the first time, you will be asked to create a free Razer account. You can sync your settings with this account across your other Razer devices.
How to use the Razer Synapse program?
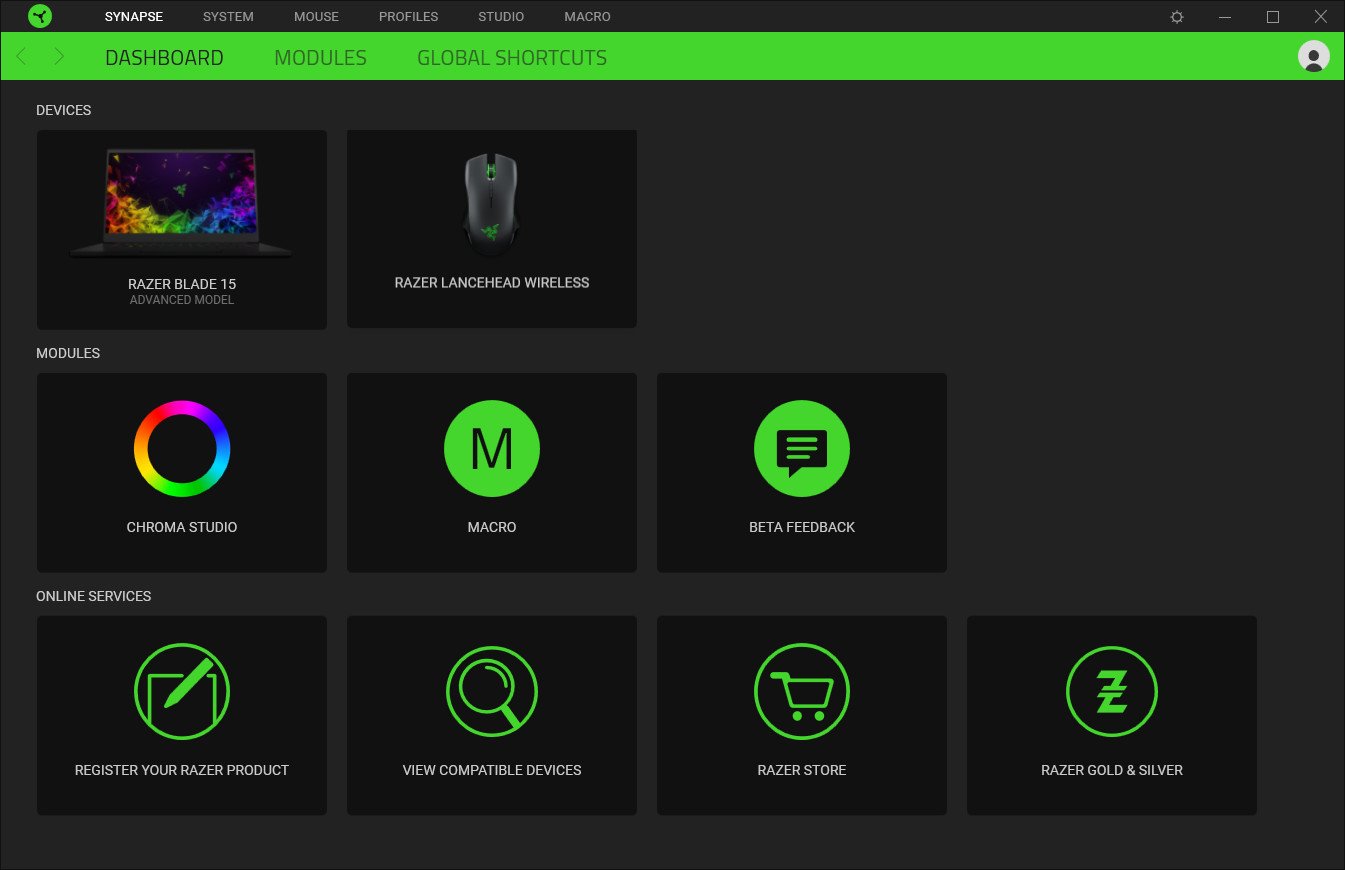
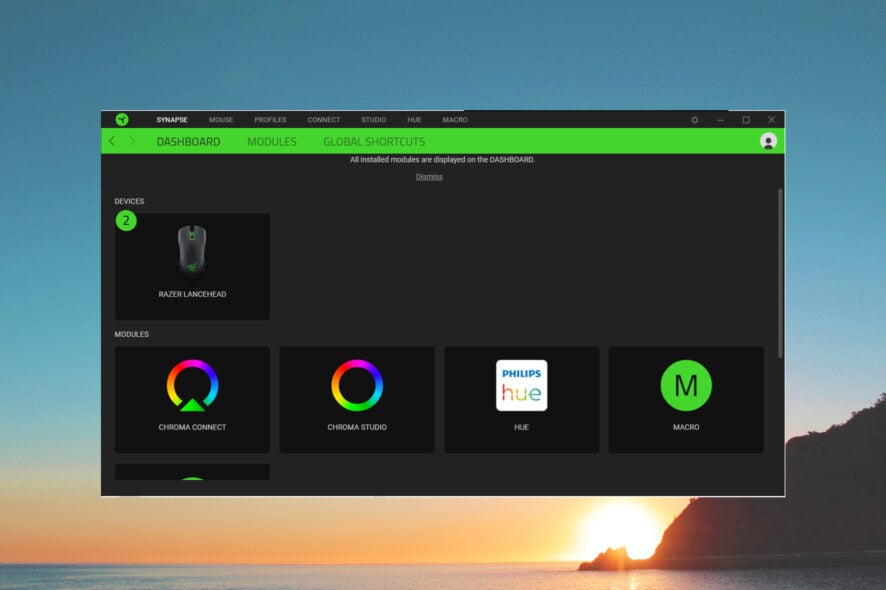
When you launch the Razer Synapse software, you will see different options in the Dashboard. The program will automatically detect any Razer device connected to your PC.
If you are running it on a Razer PC, the program will show you an extra System section. From here, you will be able to control the different laptop features.
Here are the different sections in the Razer Synapse program and what they do:
- Dashboard – You will see all of your connected Razer devices on this page, along with the modules you have installed.
- Modules – From this section, you can go over the modules that you have installed to elevate the overall experience of using a Razer device. You can install other modules from this section.
- Global Shortcuts – Global Shortcuts lets you bind keys on your Razer products to various functions.
Let us now take a look at the steps that you can take to configure your laptop and other Razer devices using the Synapse program.
1. Configure your laptop with Razer Synapse
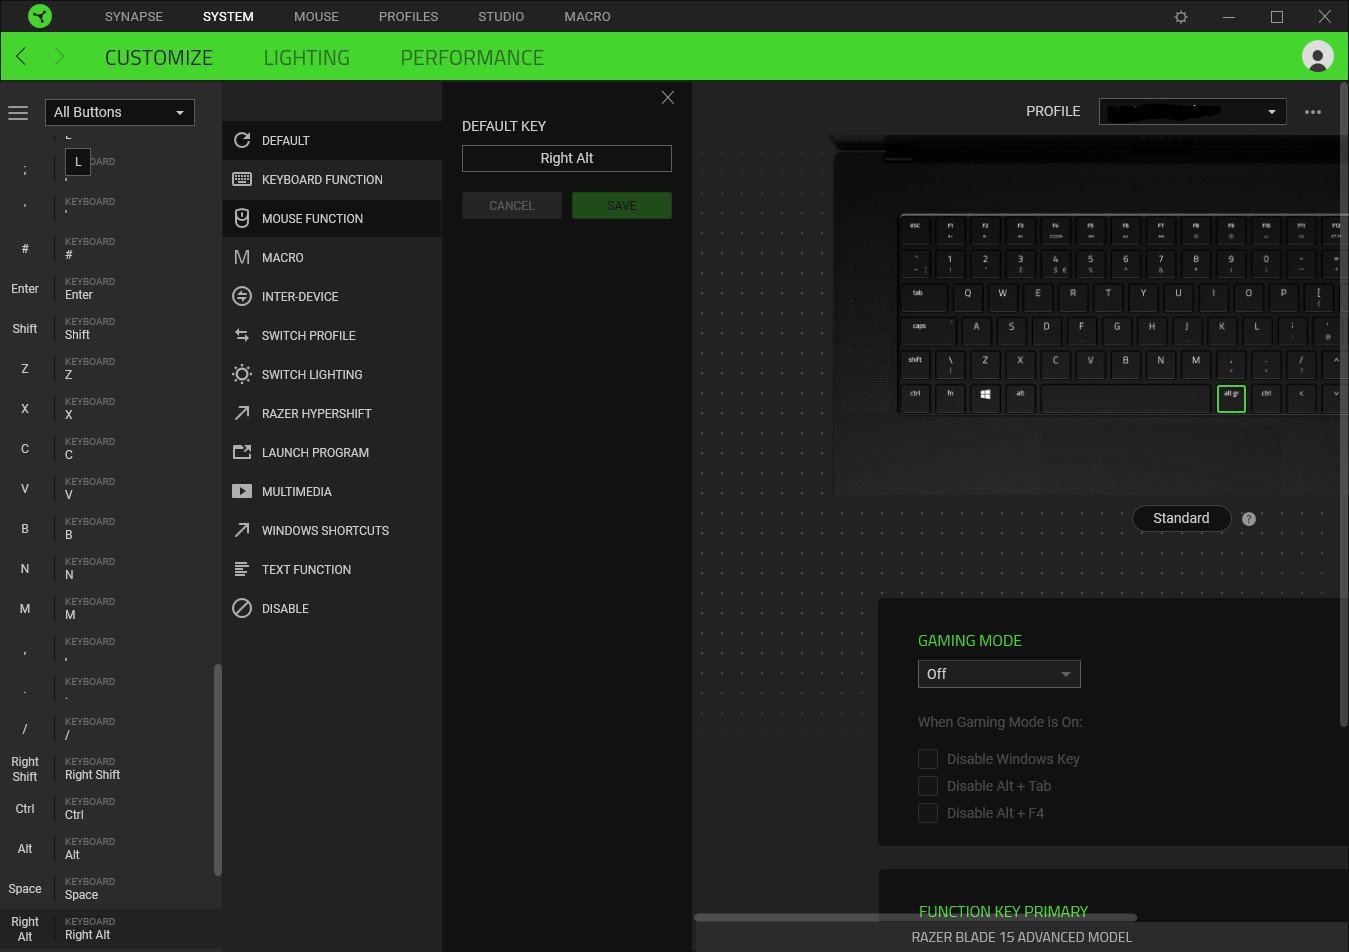
When you hit the System section at the top (for Razer laptops), you will be able to tweak different features of your PC. Let us look at each one of them, one by one, below.
- Keyboard bindings
- You can bind different keys together to perform certain actions with a specific program.
- You can also use Razer Hypershift to add a new Fn key. Using the Razer Hypershift key, you will be able to double the number of shortcuts you have in one place.
- Binding a key is simple. Simply press the key and select the action from the menu that you would like to perform with that key.
- Performance
- In the Performance section, you can easily select between Balanced, Gaming, and Creator modes.
- You will be able to tweak the fan speed by setting it to automatic or manual.
- The Performance section also lets you change the screen refresh rate.
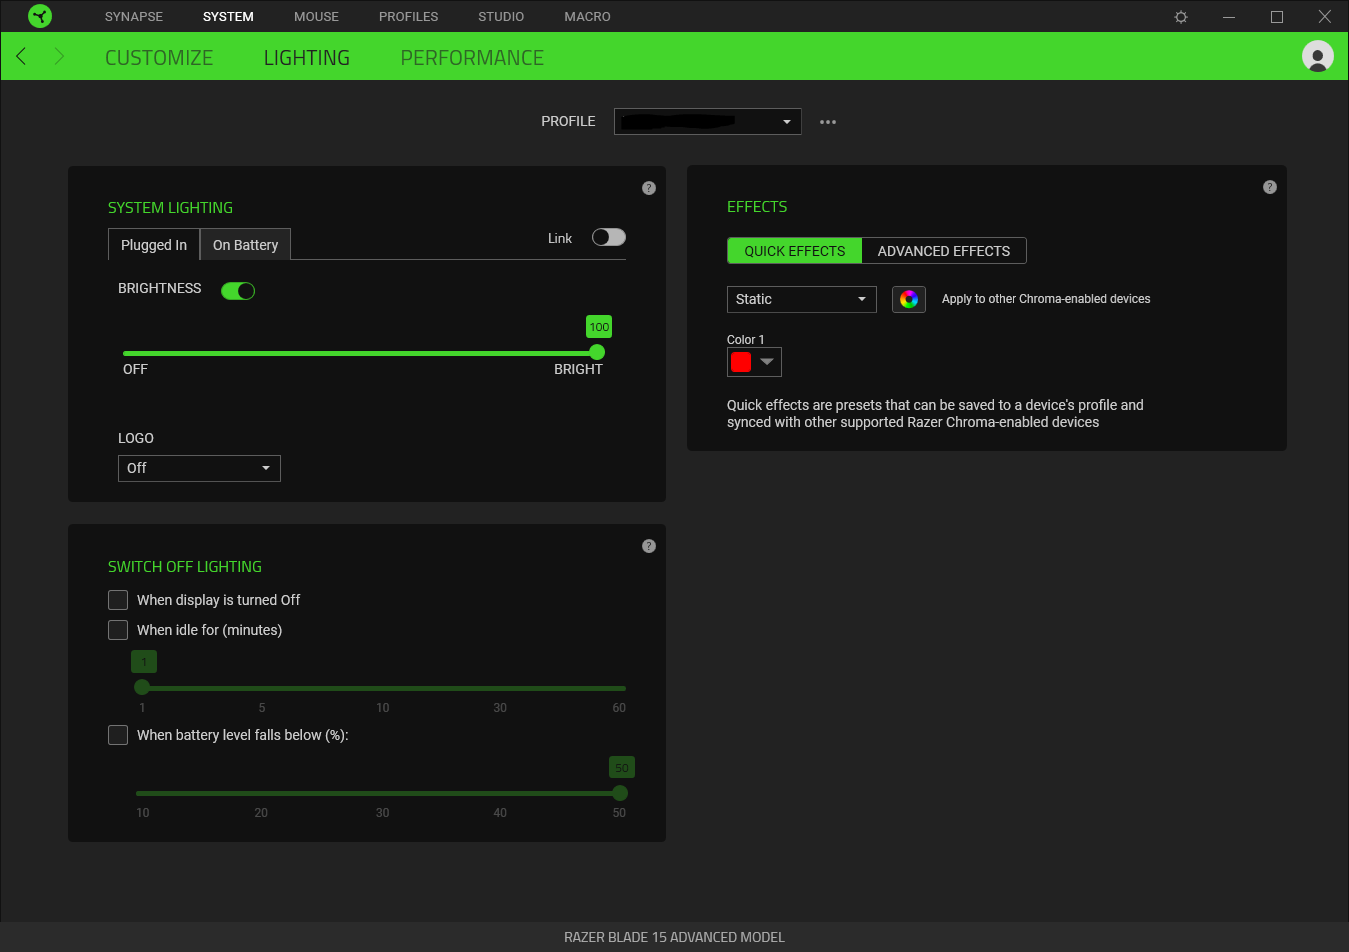
- Lighting
- Under the System Lighting section, you can change the brightness of the lights and illuminate the logo when plugged in or on the battery.
- You can set the different lighting options, such as switching it off when the display is off or when the PC is in an idle state.
- You can choose from the various lightning effects and the color to appear.
2. Configuring other devices
Let us take an example of configuring a mouse. When you hit the Mouse tab at the top, you will see multiple configuration options.
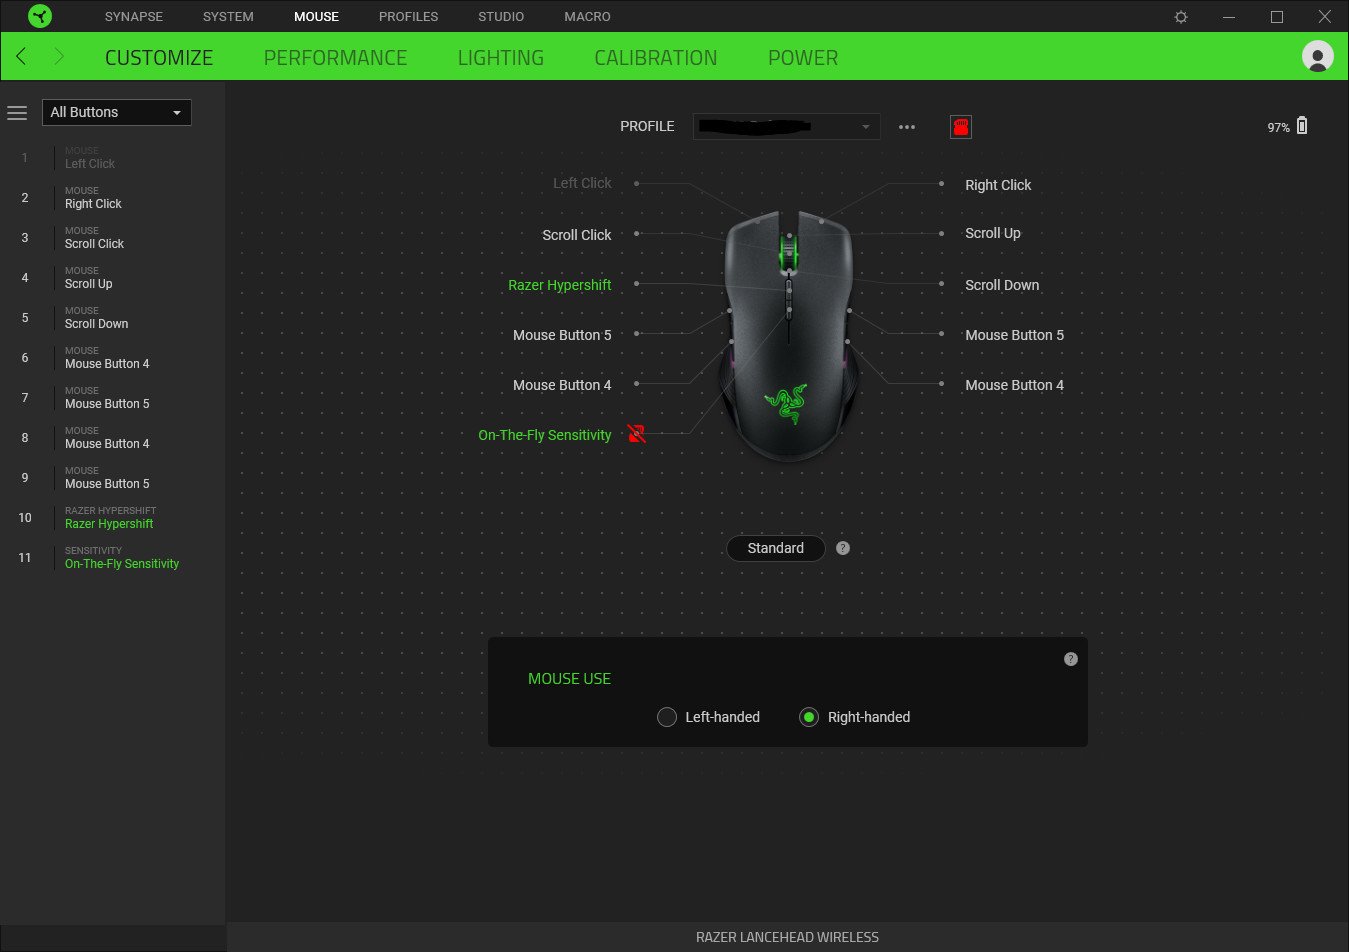
- Customize section
- Here you will be able to change what the mouse buttons do.
- You will be able to save your settings for a particular profile as well.
- You can also change whether you use the mouse left-handed or right-handed.
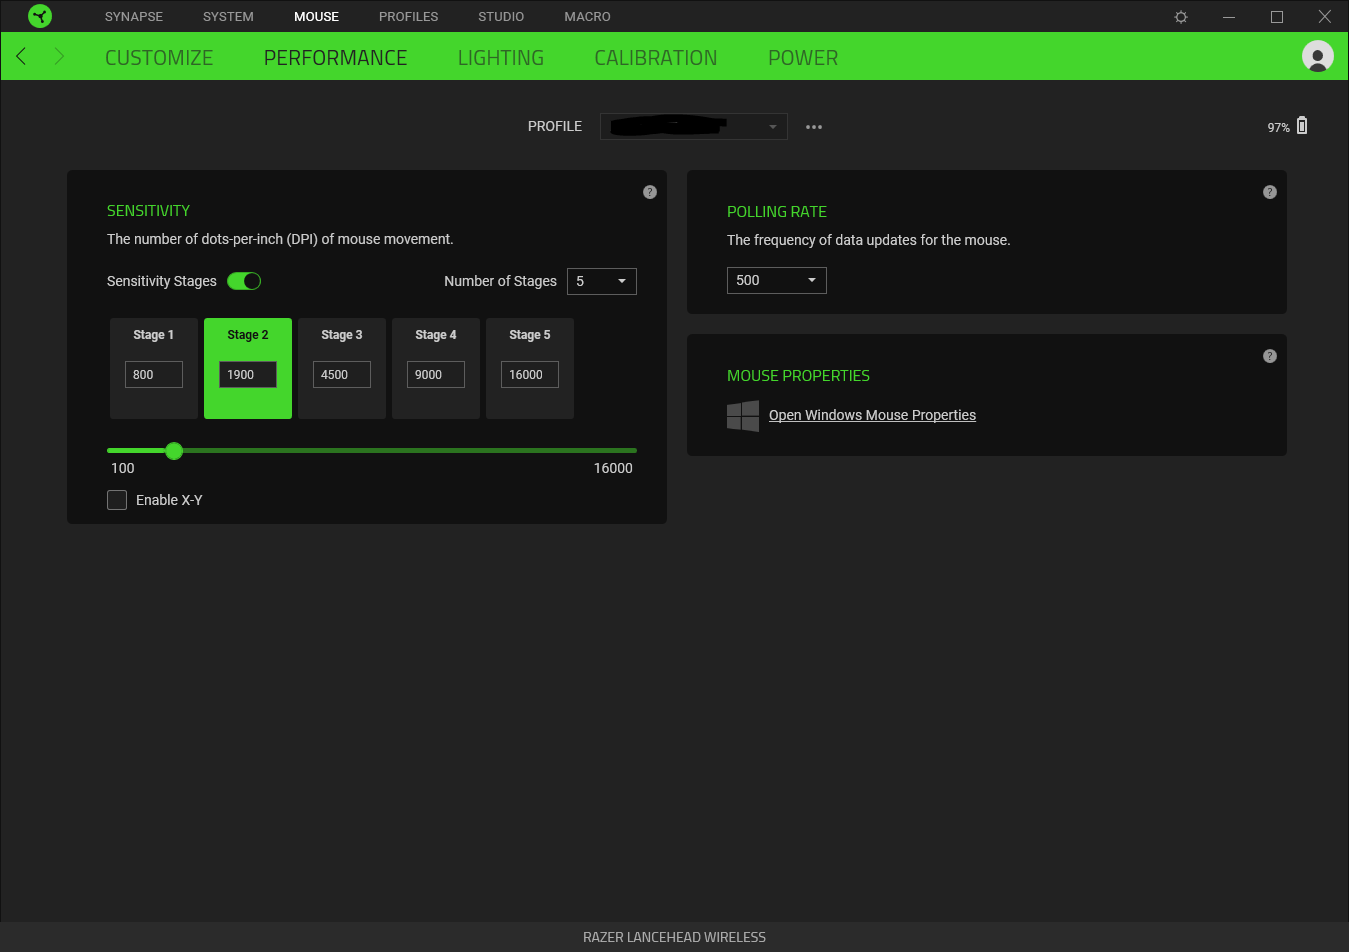
- Performance section
- You will be able to tweak the sensitivity settings and change the sensitivity stages between Stage 1 to Stage 5.
- You have the option to tweak the Polling Rate, i.e., the frequency of data updates of the mouse.
- Lets you access the Microsoft Mouse settings as well.
That is it from us in this guide. You will see different options when you connect a different Razer device and use it with the Synapse program.
If the Razer Synapse program is not opening, you can apply the solutions mentioned in our guide to resolve the problem.
You can also check out our guide that will help you resolve the problem where the Razer Synapse failed to start on Windows 11.
Let us know in the comments below if the above guide helped you understand what Razer Synapse is and how you can use it.

