Chrome Tabs Not Showing Names? 5 Ways to Fix This
Reverting to an older browser version often fixes this issue
4 min. read
Updated on
Read the affiliate disclosure page to find out how can you help Windows Report effortlessly and without spending any money. Read more
Key notes
- When Chrome is not displaying names on open tabs, it can be hard to crack which one to switch to, especially if you have a lot of tabs open.
- To resolve this issue, try refreshing your browser or resetting it to default settings in case of corrupt extensions.
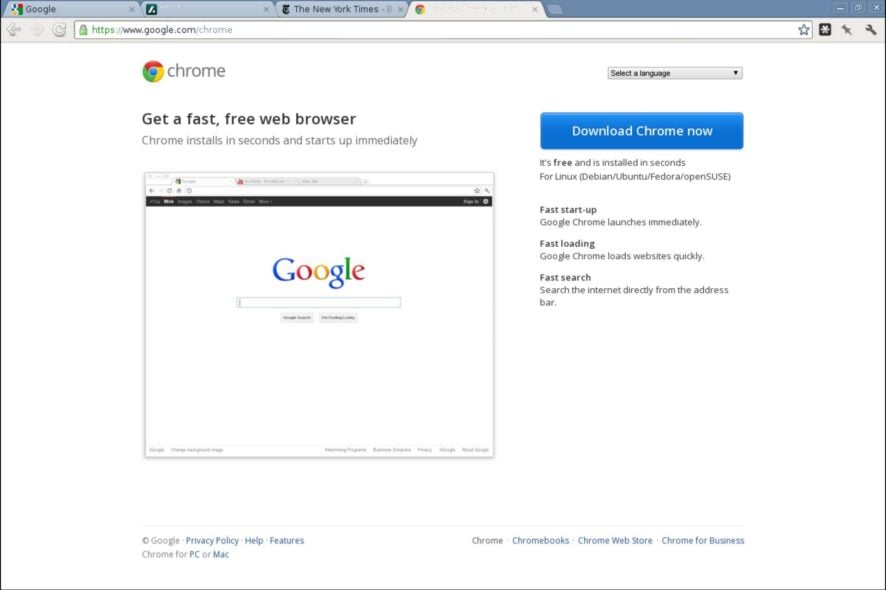
It would appear that after a certain Google Chrome update, tabs are not displaying names. This is not the first instance where Chrome is behaving a certain way.
We have already discussed what to do when your Chrome icon is missing, so check that out. In this guide, we get down to the bottom of this problem.
Why are my Chrome tabs not showing names?
Chrome users have plenty to love about the browser. Its speed, simplicity, and security features make it a top choice for many. However, sometimes, you can easily forget about all these good things and focus on the problem.
When working on a project in your Chrome browser, you’ll probably have several tabs open. This will allow you to switch between them easily and compile all the information you need promptly.
However, when tabs are not displaying names, it can be hectic playing guessing games to reach out for the tab you want to open. So why does this happen? Below are some possible reasons:
- Corrupt extensions – We all love extensions for their added functionality, but not all bring good tidings. Some can alter how your browser works and cause such issues.
- Faulty browser update – If your browser was working fine, but after a recent update, it stopped showing tab names, this could be the issue.
- Browser crash – It’s no secret that Chrome is a memory hog. When you have too many tabs open on your Chrome browser and not enough memory, some tabs may start crashing, and their names will disappear.
- Site issue – In some cases, the site you’re visiting has an issue of not displaying the title. If other tabs display title names, you can conclude it is a site-related problem.
- Memory saver – Chrome has a memory save feature that kills any tabs in the background that are not in use. However, when you click on the tab again, the name is displayed. This could be the reason your tab names are not showing.
What can I do if Chrome tabs are not showing names?
A few simple workarounds to try before the main solutions include:
- Wait it out.
- Try using Incognito mode and see if the issue persists.
- Switch to another browser.
- Refresh your browser.
- Close any background apps and processes you’re not using.
- Stop multiple Chrome processes.
1. Disable problematic extensions
- Launch your Chrome browser, and in a new tab, enter the following address:
chrome://extensions/ - Peruse through your extensions and toggle the Disable button for any suspicious-looking ones.
- Repeat this step until you find the culprit.
If you have too many extensions, this can be nerve-wracking, so you may want to move to the next steps.
2. Turn off memory saver
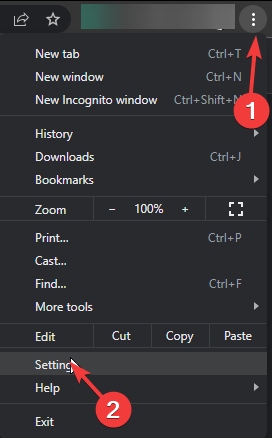
- Navigate to your Chrome browser and click the three ellipses in the top right corner.
- Select Settings.
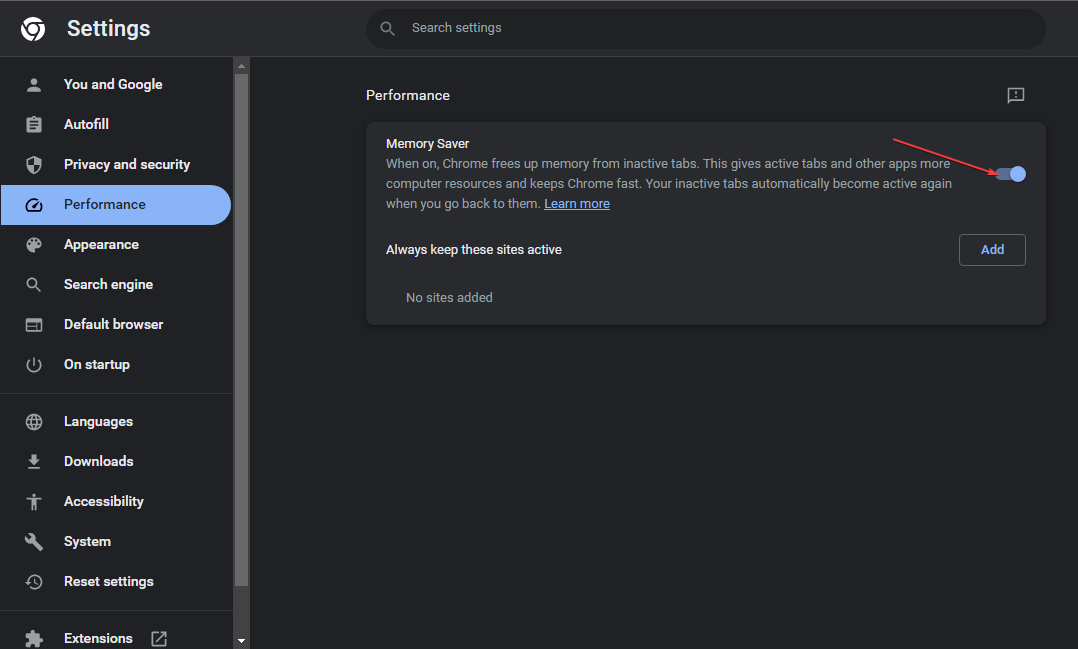
- Click on Performance and toggle off Memory Saver.
- Restart your browser.
3. Clear cache and cookies
- Launch your Chrome browser and click the three vertical ellipses in the top right corner.
- Select Settings.
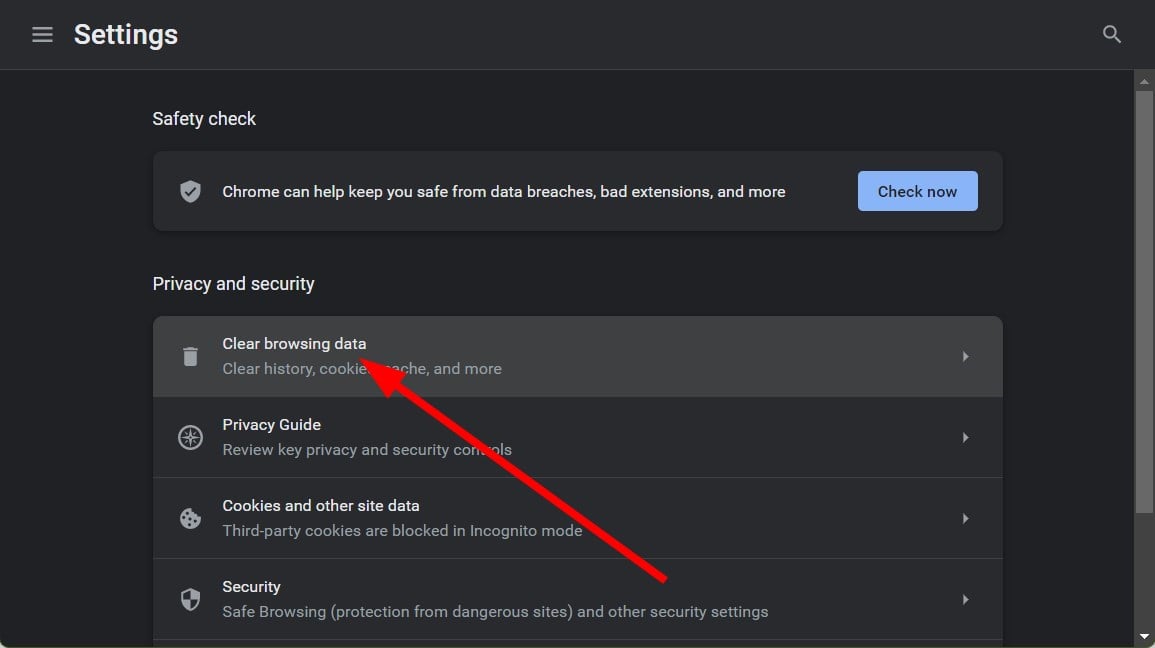
- Click on Privacy and security, then select Clear browsing data.
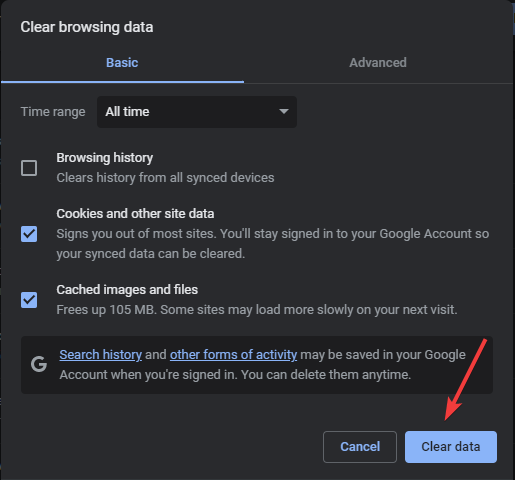
- Check Cookies and other site data and Cached images and files, then hit Clear data.
4. Reset your browser
- Open your Chrome browser and click on the three vertical ellipses at the top right corner.
- Select Settings.
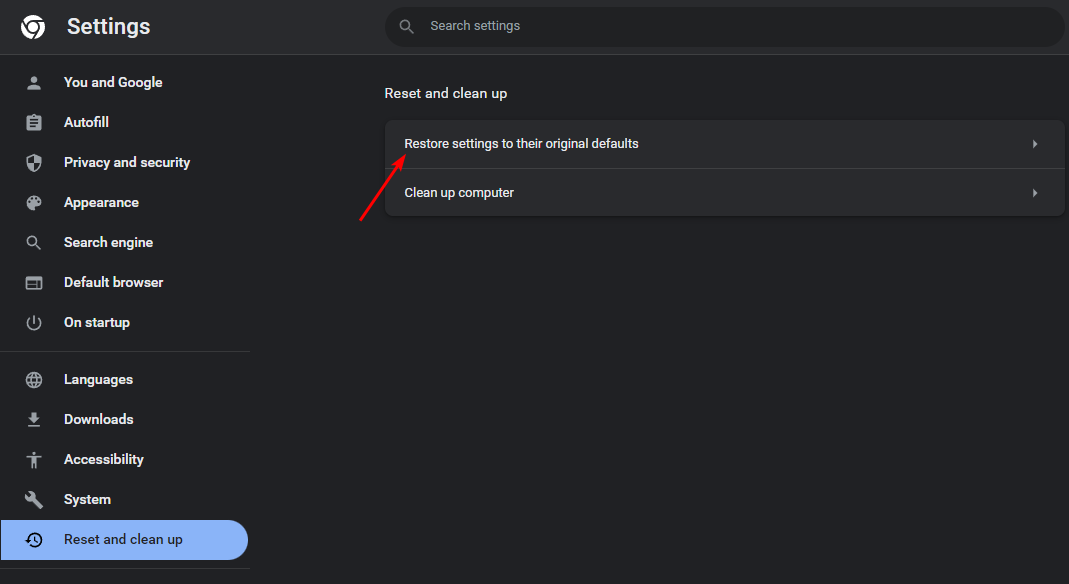
- Next, click on Reset and cleanup, then select Restore settings to their original defaults.
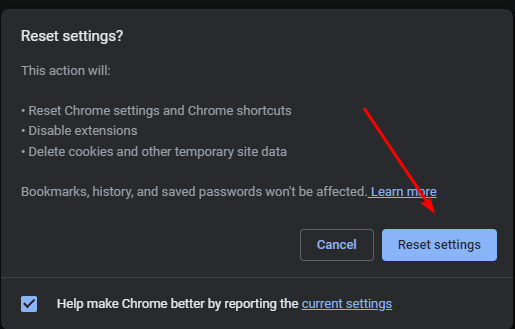
- Confirm Reset settings in the next dialog box.
5. Rollback previous Chrome version
If the latest update was the reason for Chrome tabs not showing names, you may have to downgrade to an earlier version until Google solves this issue. The steps for downgrading vary depending on whether you’re a single user or on Chrome Enterprise.
For single users, you can easily uninstall the current version and download a previous one from a trusted site. Those on Chrome Enterprise must downgrade following the steps outlined on the Google help page.
Both users must remember to temporarily disable auto-updates so that they’re not automatically upgraded to the problematic version again.
Also, remember to remove any software leftovers so that the new installation is not corrupted with old files.
In the future, to avoid such problems, we’d advise you to get a tab manager for Chrome if you find yourself with too many tabs open at any given time.
We also have an answer on what to do when your browser runs extremely slow. Check out our guide on how to speed up your Chrome browser.
That sums up this article, but we’d like to know which one of our solutions came through for you. Do leave a comment down below.


